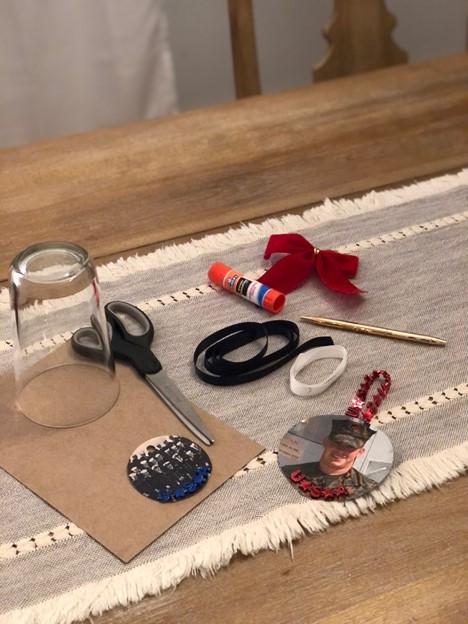
If you’re feeling disconnected from loved ones this year, we’ve included a fun and simple activity to help keep friends and family in your thoughts. Below you’ll find step-by-step instructions on how to make a holiday ornament using a photo and just a few household items!
Ornament Instructions
Materials Needed:
- Photo/picture of a loved one (something you can
draw or print out) - Glue/glue stick
- Something to hang the ornament with like ribbon,
twine, or an ornament hook - Cardboard or construction paper
- Something round to trace a circle with, like a
drinking glass or coffee mug - Scissors
- Pencil or marker
- Hole punch or something sharp to punch out a
hole with

- Step 1:
- Find a picture, either a photo or something you
can print out, or draw an image
- Find a picture, either a photo or something you
- Step 2:
- Use the glue to adhere the image to a piece of
cardboard or construction paper
- Use the glue to adhere the image to a piece of
- Step 3:
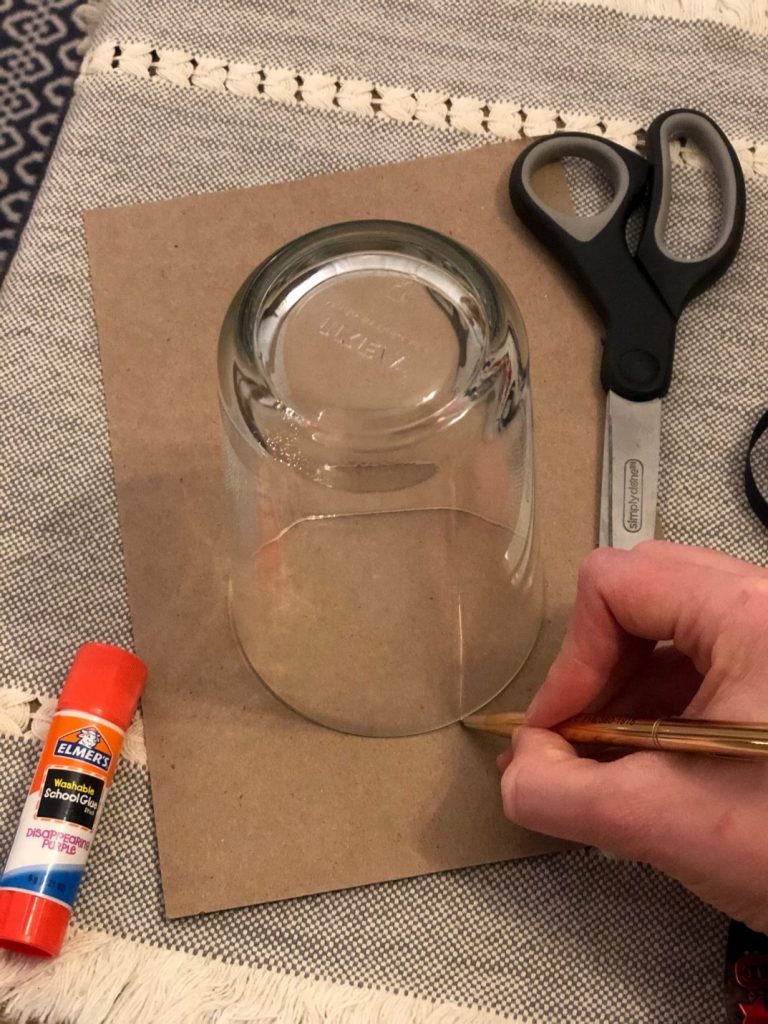
- Place a glass or mug around the image and trace
a circle shape with a pencil or marker
- Place a glass or mug around the image and trace

- Step 4:
- Carefully cut along your tracing to create a
round shape for your ornament
- Carefully cut along your tracing to create a
- Step 5:
- Punch a hole at the top of your ornament
- Step 6:
- Loop a piece of ribbon or twine through the hole
and hang your ornament on the tree. You can also glue to adhere ribbon to the
backside of your ornament if you don’t have a hole puncher.
- Loop a piece of ribbon or twine through the hole
Remember to share your ornament on social media using the hashtag #NVMMHolidays.We can’t wait to see what you create!
Explore More Stories
Home for the Holidays: Wartime Recipes


